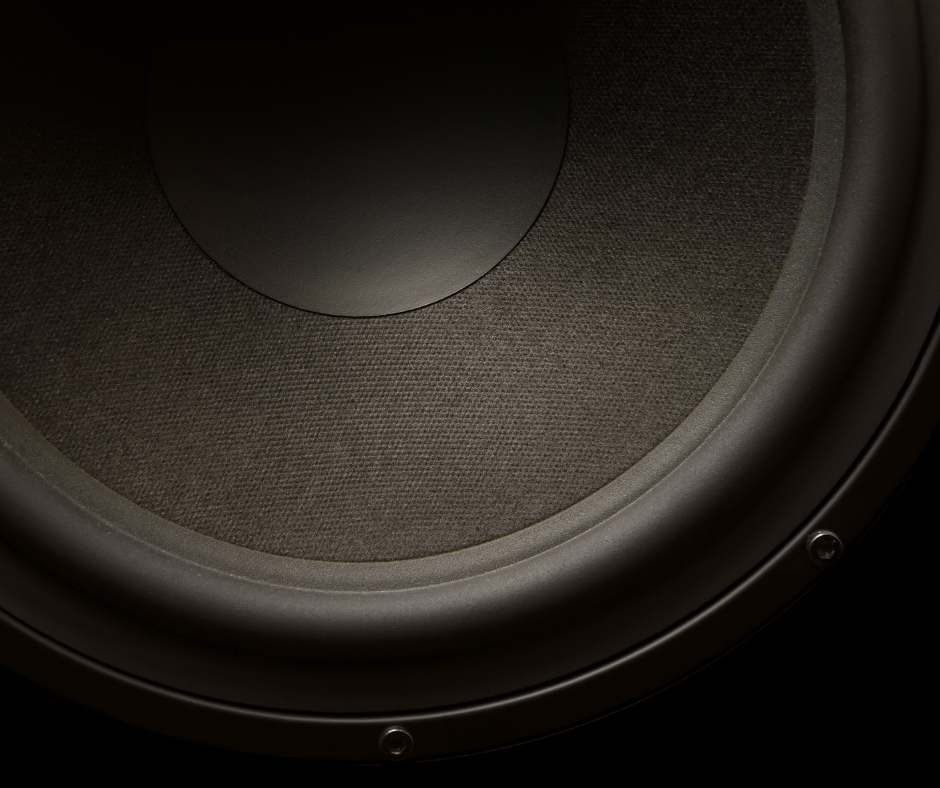
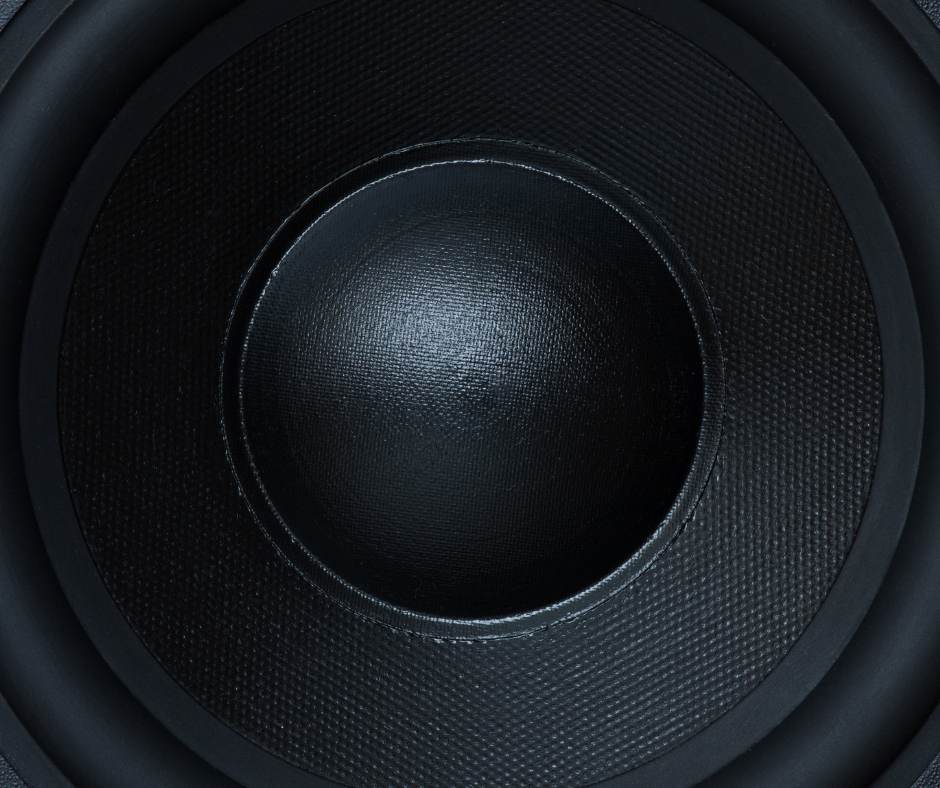
Subwoofer calibration is the process of aligning crossover, phase, level and placement settings so the subwoofer integrates seamlessly with the main speakers and room acoustics. Understanding what a subwoofer is helps explain why these adjustments are critical to low-frequency performance. Proper calibration ensures bass is smooth, controlled and coherent, eliminating gaps, peaks and distortions that occur when low-frequency reproduction is not correctly aligned with the rest of the system.
Why Calibration Matters
Subwoofers operate in a frequency range heavily influenced by room boundaries. Without calibration, the system may suffer from issues such as:
- Bass peaks that overpower the soundstage
- Nulls where bass seems to vanish
- Phase cancellation between speakers and sub
- Muddy or boomy low-end response
- Poor integration with mains, creating a noticeable “subwoofer effect” instead of cohesive full-range sound
Correct crossover and phase alignment creates the illusion that the bass is coming from the entire system—not from a single box.
1. Understanding the Crossover
The crossover is the frequency point where the main speakers hand bass duties to the subwoofer. Most subwoofers allow setting this frequency manually; AV receivers may manage it automatically.
How the Crossover Works
Below the crossover frequency, the subwoofer takes over. Above it, the main speakers handle sound. A properly chosen crossover avoids:
- Gaps in the frequency range
- Overlaps that cause bloated or smeared bass
- Localization where the subwoofer becomes audible as a stand-alone source
Typical Crossover Settings
- Bookshelf speakers: 80–100 Hz
- Small floorstanding speakers: 60–80 Hz
- Large floorstanding speakers: 40–60 Hz
- Satellite speakers: 100–150 Hz
When in doubt, 80 Hz is a highly reliable starting point, aligning with THX and industry standards.
2. Setting the Subwoofer Level
Level (or gain) determines how loud the subwoofer plays relative to the system. The goal is neutrality—not boom, not thinness.
How to Set Level Correctly
- Start with the subwoofer’s gain at 25–35%.
- Use the receiver or amplifier to adjust final trim level.
- Use pink noise or test tones if available.
- Match the sub’s output to the main speakers at the listening position.
If the bass seems overpowering or “detached,” the gain is too high. If it seems weak or lacking warmth, raise it gradually.
3. Phase Alignment
Phase determines whether the pressure waves from the subwoofer and speakers arrive together or collide destructively. Incorrect phase causes cancellation, weak bass or inconsistent response across seats.
0° vs 180° Switch
Many subwoofers include a simple 0°/180° phase switch. Choose the setting that results in stronger, tighter bass at the listening position.
Variable Phase Control
Higher-end subs offer continuous phase adjustment (0°–180°). This fine-tuning aligns the subwoofer’s wavefront with the main speakers for maximum coherence.
How to Hear Correct Phase
- Play bass-rich music or test tones.
- Adjust phase slowly while listening at the primary seat.
- Stop when bass becomes fuller, smoother and more integrated.
If the bass becomes thin or inconsistent, phase alignment is off.
4. Polarity vs Phase: A Quick Clarification
Polarity flips the direction of the cone (positive vs negative excursion). Phase adjusts the timing of the wave itself. Although related, they solve different alignment issues.
5. Low-Pass and High-Pass Filters
The crossover may include:
- Low-pass filter (applied to the subwoofer)
- High-pass filter (applied to the speakers)
Proper filtering ensures neither the subwoofer nor the speakers try to reproduce frequencies outside their most efficient range.
6. Time Alignment & Delay
Subwoofer distance settings account for:
- Physical distance from the listener
- Group delay caused by the enclosure design
- DSP processing time
AV receivers calculate this automatically, but for manual setups:
- Increase distance if bass arrives late
- Decrease distance if bass arrives early
Time alignment can dramatically improve clarity and impact.
7. Using Room Correction & Measurement Tools
Advanced tools such as REW, Dirac Live, ARC, Audyssey and other DSP solutions can measure room behaviour and apply corrective filters.
Main Benefits
- Reduced room modes
- Flatter frequency response
- Tighter, more even bass across seats
- Automatic optimisation for crossover and timing
Even a well-placed subwoofer benefits from measurement-based calibration.
8. Common Calibration Mistakes
Setting the Crossover Too Low
This leaves a gap between the subwoofer and speakers, causing thin or uneven bass.
Setting the Crossover Too High
This causes localisation—you hear the subwoofer’s position instead of seamless integration.
Incorrect Phase
Out-of-phase alignment results in weak or inconsistent bass.
Overpowering Gain
Excessive gain leads to boomy, muddy or bloated low-end performance.
Ignoring Room Acoustics
Furniture, walls and flooring dramatically influence bass response. Calibration must account for the room, not just the hardware.
Ready to extend your system’s low-frequency performance? Explore our curated range of subwoofers designed for accurate, controlled bass in real listening rooms.
Final Thoughts
Subwoofer calibration relies on correct crossover, phase and level settings that align the subwoofer with the main speakers and listening environment. When these elements are tuned correctly, bass becomes tighter, more accurate and more immersive—enhancing the entire soundstage. Proper calibration transforms a subwoofer from a standalone source of bass into a seamless, integrated foundation for your entire audio system.
