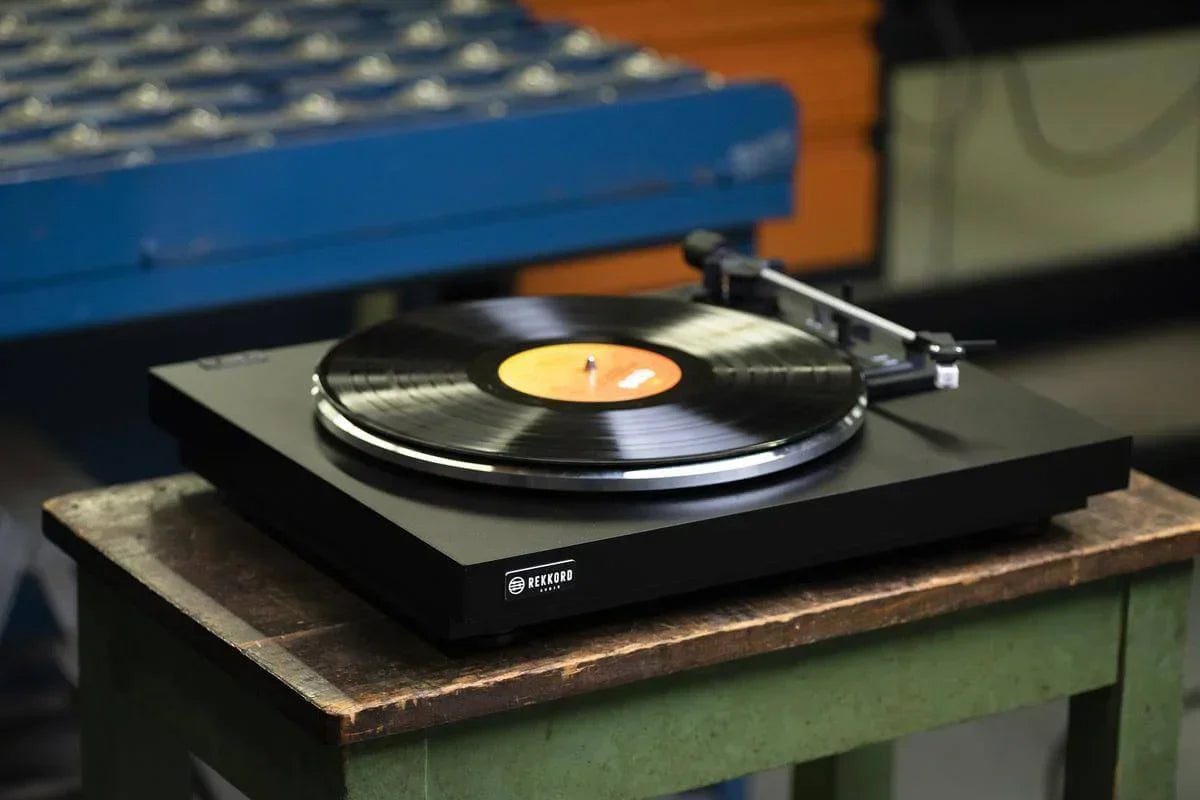
Correct setup ensures a turntable performs as intended, delivering accurate speed stability, proper tracking and balanced channel output. Understanding what a turntable is and how its core components interact provides the foundation for making precise adjustments to tracking force, anti-skate and alignment.
1. Set the Correct Turntable Speed
Turntables must rotate at precise speeds—33⅓, 45 or occasionally 78 RPM. Even minor deviations affect pitch stability, rhythm and musical timing.
How to Check Speed Accuracy
- Strobe discs: printed markers viewed under mains lighting reveal speed drift
- Smartphone RPM apps: convenient but depend on phone balance
- Built-in electronic readouts: found on high-accuracy direct-drive turntables
Adjusting Turntable Speed
Speed adjustments vary by design:
- Belt-drive: replace stretched belts, clean pulleys, adjust motor trim pots if provided
- Direct-drive: usually feature pitch controls or quartz-locked speed correction
- DC motor decks: adjust power-supply voltage or controller settings
Once speed is stable, the rest of the setup can be dialled in without pitch-related distortion.
2. Adjust Tracking Force (Stylus Pressure)
Tracking force is the downward pressure the stylus applies to the record groove. It must be set within the cartridge manufacturer’s recommended range—typically 1.5–2.5 grams for modern cartridges.
Why Tracking Force Matters
- Too low: mistracking, distortion, sibilance, groove wear
- Too high: reduced dynamics and potential long-term record damage
How to Set Tracking Force Correctly
- Balance the tonearm so it floats level
- Set the counterweight scale to “0”
- Rotate the counterweight to the desired tracking force
- Verify with a digital stylus gauge for maximum accuracy
A properly set tracking force improves tracking stability, bass resolution and imaging focus.
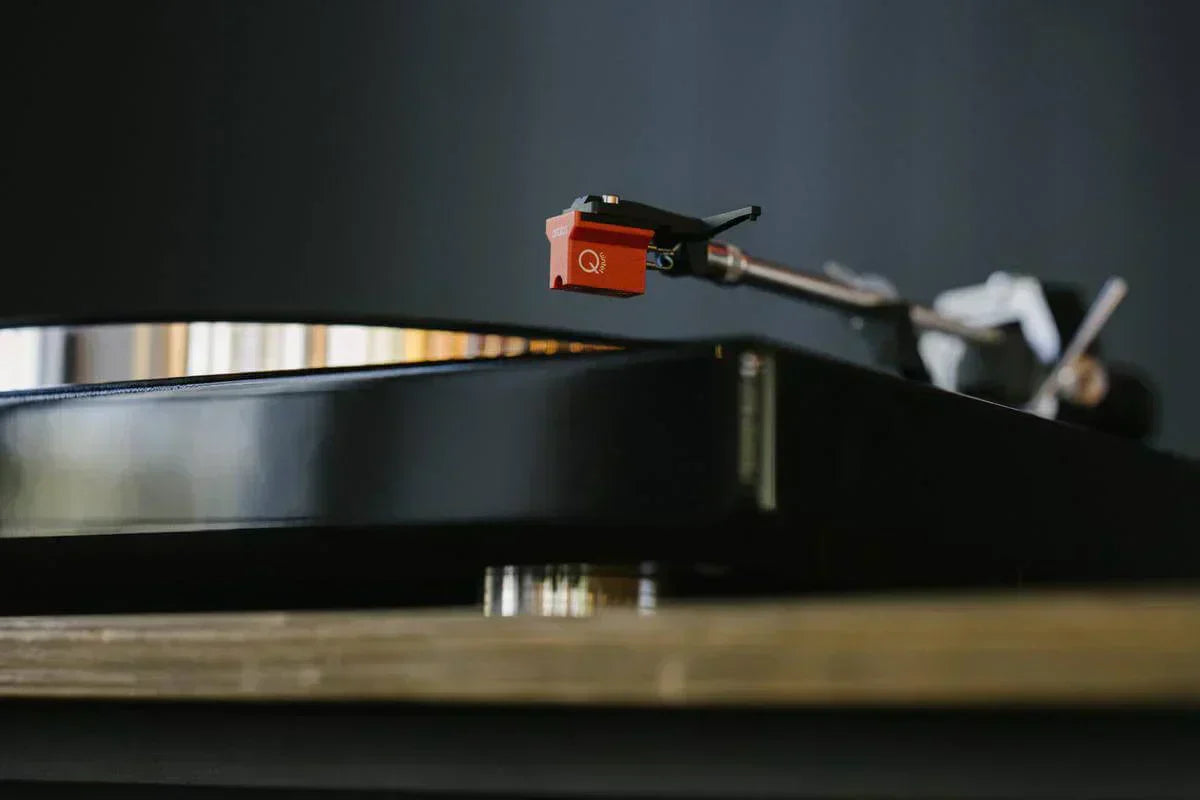
3. Align the Cartridge Geometry
Cartridge alignment ensures the stylus meets the groove at the correct angle across the entire playing arc.
Alignment Types
- Baerwald: most common, lowest tracking error across the record
- Stevenson: prioritises inner grooves
- Löfgren: optimised for reduced distortion in mid-groove areas
Tools for Alignment
- Two-point protractors (Baerwald, Stevenson, Löfgren)
- Mirrored protractors for improved azimuth visibility
- Manufacturer-supplied alignment jigs
Correct alignment produces cleaner treble, reduced harshness and more stable imaging.
4. Set Anti-Skate
Anti-skate counteracts the inward force that pulls the tonearm toward the centre of the record. Without it, the stylus presses harder on the inner groove wall, causing uneven wear and distortion.
How to Adjust Anti-Skate
- Start with the same value as your tracking force (e.g., 2.0 g = anti-skate 2)
- Fine-tune using test records with tracking bands
- Adjust by ear for balanced left/right channel performance
Proper anti-skate improves channel balance and prevents inner-groove distortion.
5. Set Vertical Tracking Angle (VTA) and SRA
VTA controls the angle of the tonearm relative to the record surface. SRA (Stylus Rake Angle) refines this further and determines how the stylus meets the groove.
How to Adjust VTA
- Start with the tonearm parallel to the record
- Raise rear of the arm for more treble clarity
- Lower the arm for fuller bass and smoother highs
Even small VTA changes affect energy, presence and tonal balance.
6. Check Azimuth
Azimuth is the left-right tilt of the cartridge body. Incorrect azimuth causes channel imbalance, distortion and increased surface noise.
How to Dial in Azimuth
- Use a mirrored protractor for visual alignment
- Monitor channel output using test tones
- Adjust until both channel levels are equal and distortion is minimal
7. Maintain Clean Records and Stylus
Even perfect setup fails if dust, static or debris enters the signal path.
- Use an anti-static record brush before every play
- Clean the stylus with gel pads or specialist fluids
- Store vinyl vertically in anti-static sleeves
Clean records dramatically reduce background noise and stylus wear.
8. Verify Everything with a Test Record
Test LPs include:
- tracking performance bands
- frequency sweeps
- left/right channel separation tests
- anti-skate calibration grooves
They allow precision tuning far beyond basic visual setup.
Building a vinyl system? Explore our curated range of Turntables.
Final Thoughts
A proper turntable setup requires accurate speed, correct tracking force, precise alignment and well-dialled anti-skate. When each variable is optimised, the stylus tracks the groove cleanly, records last longer and the entire analogue system delivers greater clarity, deeper bass and a more engaging musical presentation. Whether you're upgrading your cartridge or improving day-one performance, a careful setup unlocks the true potential of your turntable.
